Related Products
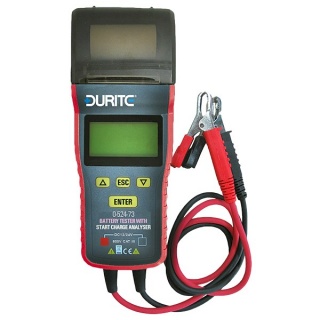 |
Durite 12-24V battery tester with start charge analyser with thermal paper printout. For use on lead-acid automotive batteries.
£223.17
Excl VAT
AvailableExcl VAT
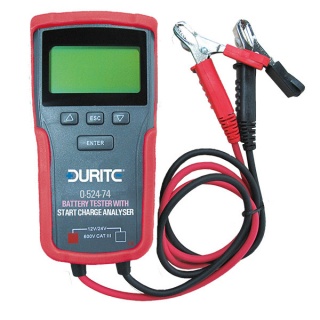 |
Durite 12-24V battery tester with start charge analyser. For use on lead-acid automotive batteries.
£79.46
Excl VAT
AvailableExcl VAT
 |
6V-12V automatic automotive battery charger 1A, for 6-12 Volts lead-acid batteries.
£29.73
Excl VAT
AvailableExcl VAT
 |
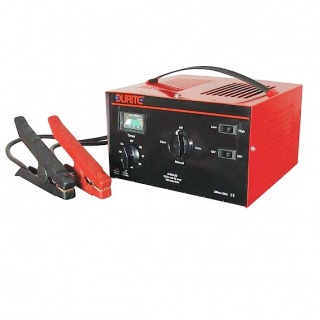
0-648-25 Durite 6V-12V heavy-duty automatic bench charger/starter.
UK Mainland Shipping Only
Re: 0-648-25 £241.88
Excl VAT
AvailableExcl VAT
 |
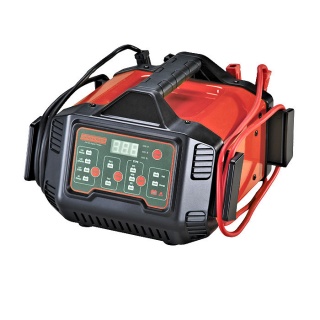
12V-24V, 30A automatic heavy-duty bench start-charger for professionals, 'automatic' or 'manual' and 'hi' and 'low' charge rate.
UK Mainland Shipping Only
Re: 0-648-30 £480.96
Excl VAT
AvailableExcl VAT
 |
12V-24V, 30A automatic bench start-charger for professional use, 'automatic' or 'manual' and 'hi' and 'low' charge rate. 110VAC input.
UK Mainland Shipping Only
Re: 0-648-31 £425.09
Excl VAT
AvailableExcl VAT
Leave a Review