Related Products
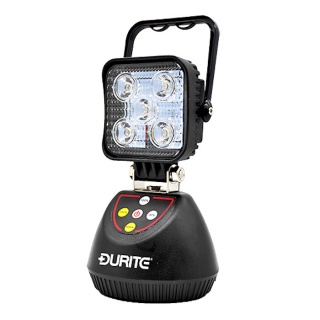 |
Powerful 15W dual colour rechargeable LED inspection lamp comes features a cigarette plug charger and a 5V 2.1A output USB port.
£65.68
Excl VAT
AvailableExcl VAT
 .jpg) .jpg) .jpg) |
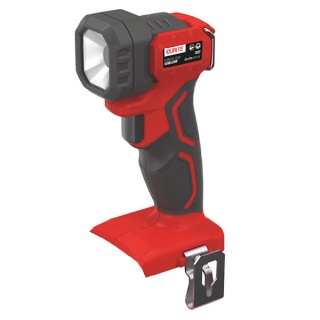
0-699-45 20Vdc 10W rechargeable, rotatable COB LED handheld lamp. Rotatable to up to 90 degrees.
£31.72
Excl VAT
AvailableExcl VAT
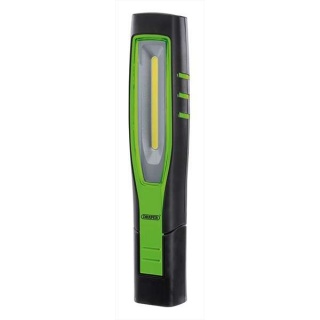 |
Draper COB/SMD LED Rechargeable Inspection Lamp, 7W, 700 Lumens, Green.
£72.07
Excl VAT
AvailableExcl VAT
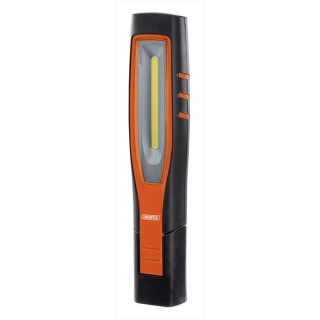 |
Draper COB/SMD LED Rechargeable Inspection Lamp, 7W, 700 Lumens, Orange.
£72.07
Excl VAT
AvailableExcl VAT
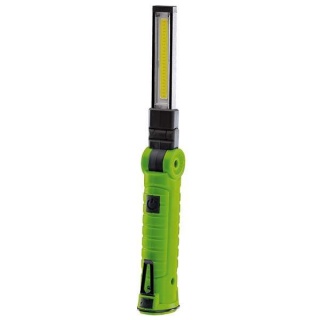 |
Draper COB/SMD LED Rechargeable Slimline Inspection Lamp, 3W, 170 Lumens, Green
£15.53
Excl VAT
AvailableExcl VAT
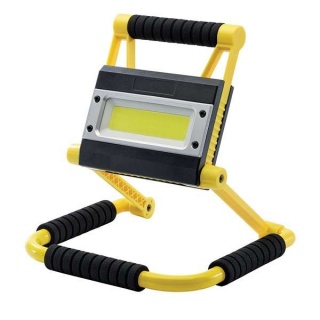 |
Draper COB LED Rechargeable Folding Worklight and Power Bank, 20W, 750 - 1,500 Lumens
£31.02
Excl VAT
AvailableExcl VAT
Leave a Review